A grillz impression kit lets you take a professional-quality dental mold of your own teeth at home in about 5 minutes, using the same dentist-grade silicone putty used in dental offices. That mold is what makes custom grillz custom — your set is handcrafted from your exact bite. Here's everything in the kit, how to get a perfect impression on the first try, and what happens after you mail it back.
What's inside the kit
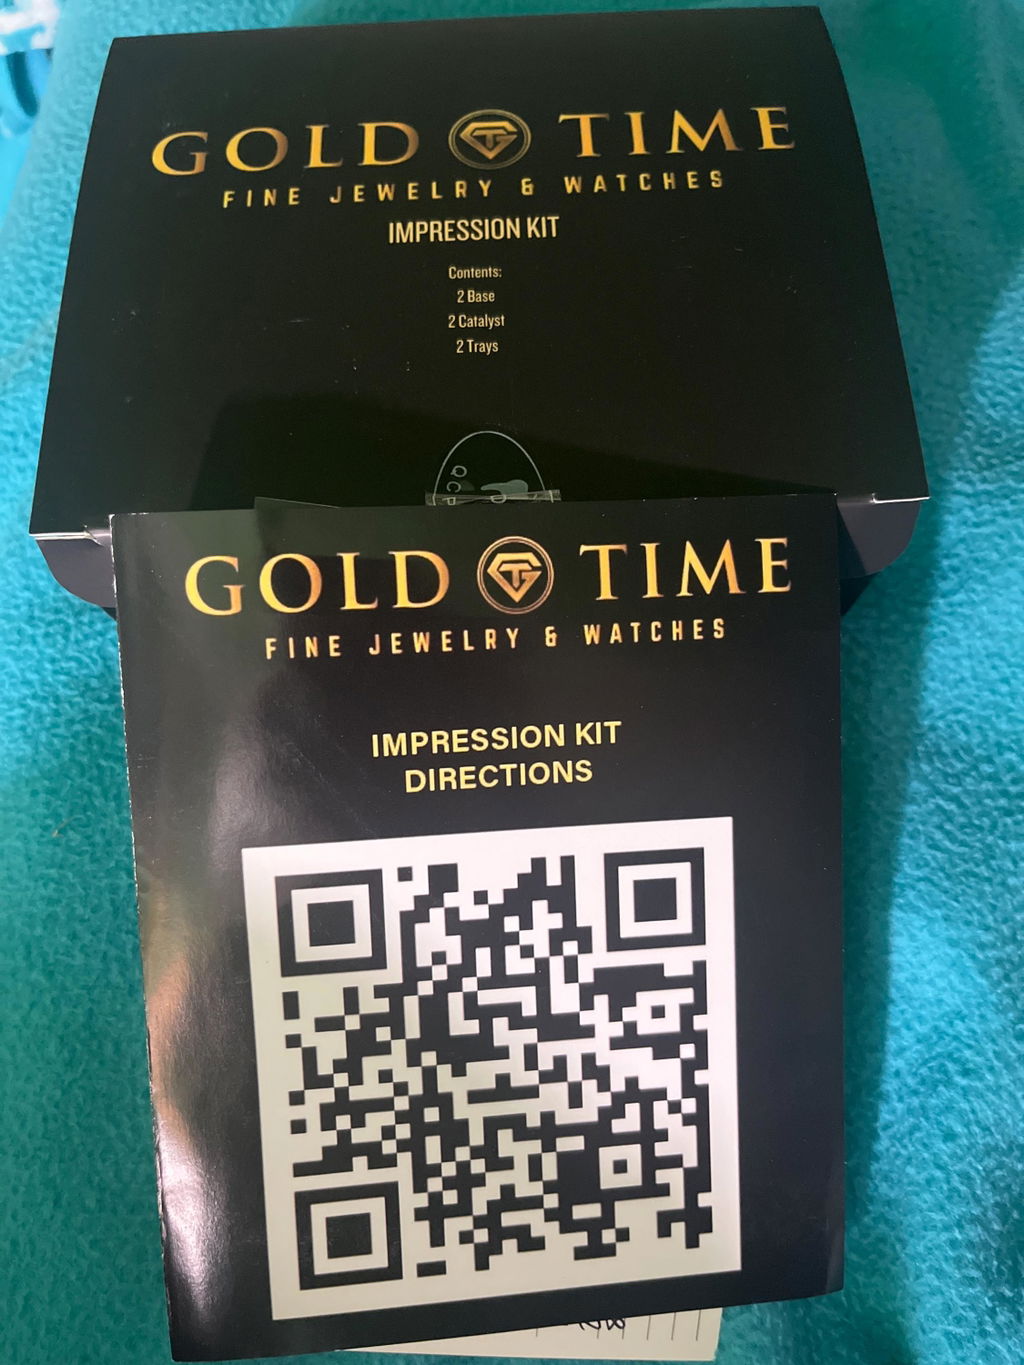
Our DIY impression kit ($29.99, credited toward your custom grillz order) includes two-part silicone putty (a Base and a Catalyst), impression trays, step-by-step instructions, and a prepaid return mailer. There's enough putty for multiple attempts, so one imperfect first try doesn't cost you anything.

Step 1 — Prep before you mix
Brush your teeth first, have a timer ready, and read the instructions all the way through before touching the putty. Once mixing starts, the clock is running — the putty begins curing fast, and hesitation mid-process is the most common cause of a bad mold.
Step 2 — Mix the putty
Combine equal parts Base and Catalyst and knead quickly until the color is completely uniform with no streaks or marbling — about 30 seconds. Streaks mean unmixed putty, and unmixed putty won't cure properly.
Step 3 — Load the tray
Press the mixed putty evenly into the impression tray. Fill it fully but don't overstuff — an even layer captures detail better than a mountain of putty.
Step 4 — Bite and hold still
Press the tray firmly onto your teeth and hold completely still for 3 minutes. Don't talk, don't adjust, don't peek. Movement during curing blurs the impression the same way movement blurs a photo.
Step 5 — Remove and inspect
Ease the tray off carefully and look at your mold. A good impression shows clean, sharp, well-defined tooth shapes with no smears, folds, or air bubbles on the teeth you want covered. If you're not sure yours is good enough, text a photo of it to (254) 294-7865 before mailing — we'll tell you straight whether it will work or whether to use the extra putty for a second attempt.

Step 6 — Mail it back the same day
Drop your mold in the prepaid return mailer as soon as you can. This is the single biggest factor you control in your total turnaround time — the sooner your impression reaches us, the sooner handcrafting starts.
Want the deeper walkthrough?
For a full step-by-step guide with the 5 most common mistakes to avoid, read our complete guide to taking a perfect grillz impression — this is what we'd tell you if you called us before your first attempt.
What happens after we receive your mold
Our craftsmen build your grillz directly from your impression — allow 2–3 weeks of handcrafting, then your finished set ships to you with tracking. The full timeline from order to delivery is laid out on our How Custom Grillz Work page.
Common impression mistakes to avoid
Mixing too slowly (putty starts curing before it's in the tray), streaky under-mixed putty, biting at an angle instead of straight down, wiggling during the 3-minute hold, and waiting days to mail the mold back. Every one of these is avoidable with the prep in Step 1.

Can I order just the kit first?
Yes — plenty of customers start with the kit on its own as the low-risk first step, since the $29.99 is credited when you order your custom set. Your mold also works for cosplay teeth, dental art, and other custom mouthpieces. When you're ready, browse the custom grillz collection and your impression does the rest.