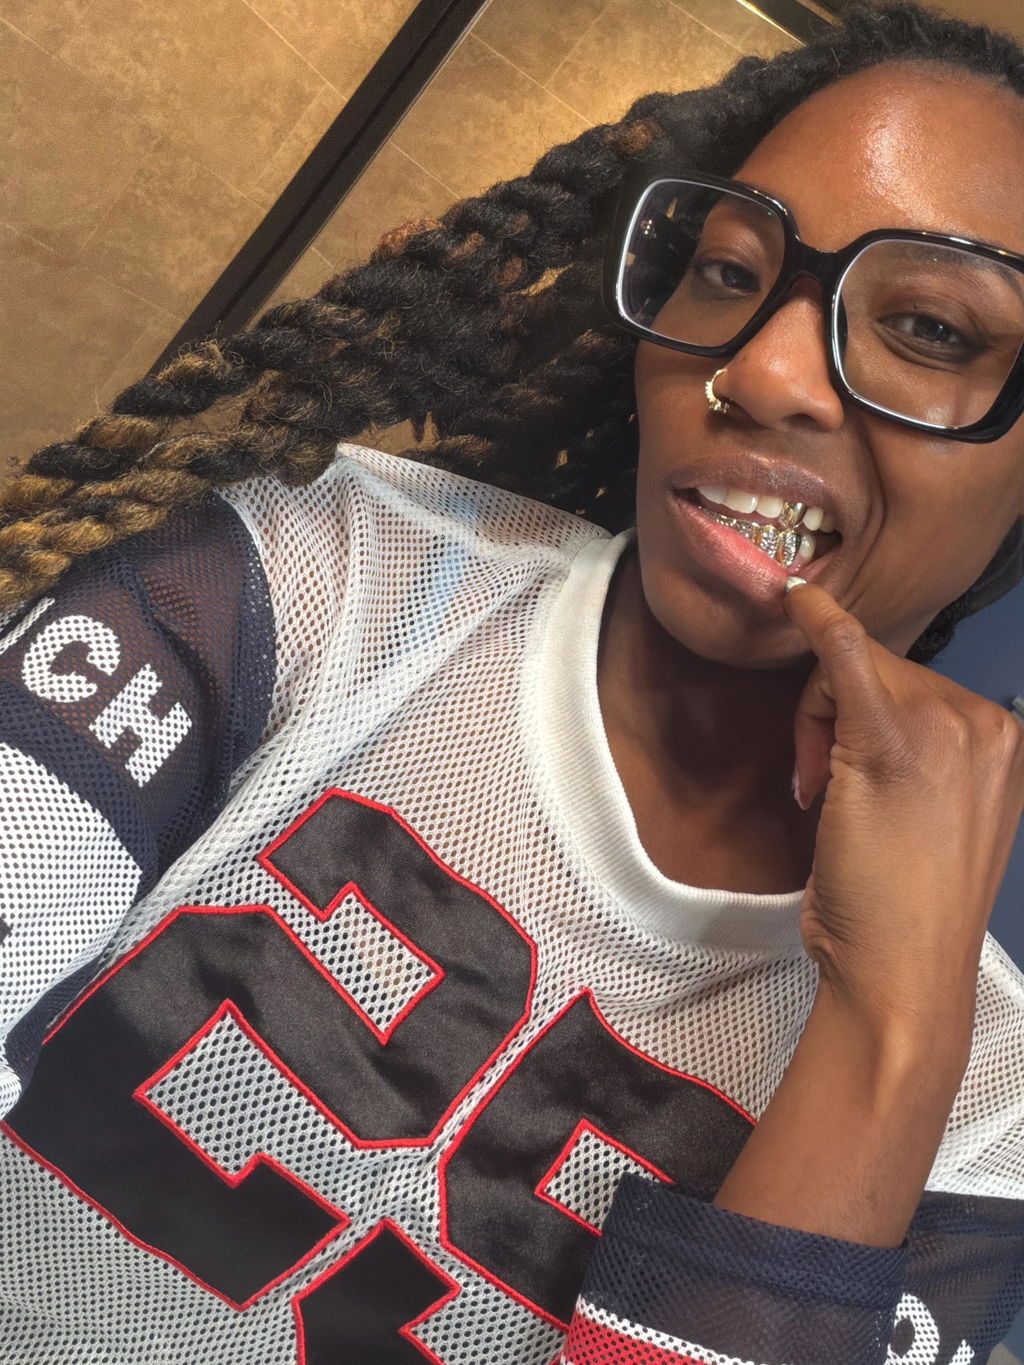
The best grillz impressions come from three things: mixing the putty completely, biting straight down and holding perfectly still for 3 minutes, and mailing the mold back the same day. Get those three right and your custom grillz will fit like they were made for you. Here's the step-by-step guide from a family shop that's been handcrafting custom grillz in Central Texas since 1991.
Before you start: read this first
The 5 minutes to read through this article will help you get the perfect impressions. Once you start mixing, the clock is running, the silicone begins curing fast, and hesitating mid-process is the #1 cause of a bad mold. Read all the way through, get your setup ready, then start.
What you need
Everything is in your Gold Time impression kit: dentist-grade silicone putty (Base + Catalyst), two impression trays, and instructions. You'll also want a timer (your phone works), a sink, a tower or napkins, and a mirror.


The kit in this guide
DIY Grillz Impression Kit: Dental Molds with Putty & Trays
$32.99
Dentist-grade putty and upper and lower trays, with enough putty for two impressions: two tries for a top or bottom grill, one try for a top and bottom set. The kit cost can be credited toward a custom grillz order.
Get the impression kitStep 1: Prep your setup
Brush your teeth first, and rinse thoroughly, a clean surface captures better detail. Set your timer app to 3:00 and have it ready to hit start. Have the mirror in front of you so you can see the tray going in straight.
If you're taking both an upper and a lower impression, do them one at a time, never both at once. Start with the one you want grillz on if you're only ordering a single-row set.
Step 2: Mix the putty (30 seconds max)
Take equal amounts of Base and Catalyst putty. Knead them together with your fingers until the color is completely uniform with no streaks, swirls, or marbling. This should take about 30 seconds. Mix quickly, because the putty starts curing the moment the two parts touch.
What "fully mixed" looks like: a single, even color throughout. If you see any streaks of the original two colors, keep mixing. Streaks mean unmixed putty, and unmixed putty won't cure properly, and you'll pull out a mold that's part-solid, part-goo.
Step 3: Load the tray
Press the mixed putty evenly into the impression tray. Fill it fully so the putty forms a thick, even layer across the whole tray, but don't overstuff. A too-full tray oozes putty everywhere when you bite; a too-empty tray gives you a shallow, detail-poor mold.
Aim for the putty to reach the top edges of the tray without spilling over. If it looks like a paved road inside the tray, flat, level, no gaps, you're set.
Step 4: Bite straight down and hold completely still
Bring the tray up to your teeth in the mirror. Bite straight down, not at an angle, not off-center. The tray should seat evenly on both sides of your mouth. Push the tray up gently until you feel your teeth sink into the putty and it starts to squeeze out around the edges.
Now, hold perfectly still for a full 3 minutes. This is the part where most bad impressions happen:
- Don't talk
- Don't shift the tray
- Don't peek
- Don't swallow more than you have to
- Don't check the timer every 15 seconds, set the timer, sit still, and wait for it to buzz
Movement during curing blurs the impression the same way movement blurs a camera photo.
Step 5: Remove and inspect
When the timer hits zero, ease the tray straight down and off your teeth, don't rock it, don't twist it. Rinse the mold under cool water and look at it in the mirror.

A good impression shows:
- Sharp, clean tooth shapes with visible detail
- No smears, drags, or "wiped" look
- No air bubbles on the biting surfaces
- The imprint reaches deep enough to show gum line, not just tooth tips
Not sure? Send us a photo. Text a clear photo of your mold to (254) 294-7865 before you mail it. We'll tell you straight whether it will work, takes 5 minutes and saves you weeks if it wouldn't have. This is one of the most helpful things you can do; we'd genuinely rather look at a photo to spot any issues beforehand than build grillz from a mold that won't fit right.
Step 6: Mail it back the same day
Rinse the impressions, and mail the impressions out the same day if possible. Once we get the impressions in, we'll inspect them. After the go-ahead your grill goes into production!
The 5 most common mistakes to avoid
- Mixing too slowly. The putty starts curing the second Base meets Catalyst. If you take 60 seconds to knead it, half your mix time is gone before the putty even hits the tray. Move fast.
- Streaky, under-mixed putty. If you can see two colors, keep mixing. Half-mixed putty won't fully cure.
- Biting at an angle. Look in the mirror and confirm the tray is level side-to-side before you bite. A crooked bite makes a crooked mold.
- Moving during the 3-minute hold. Set a timer, sit still, don't touch it. Movement during curing is the single biggest cause of remakes.
- Waiting days to mail it back. Mail it same-day. Every day it sits on your counter is a day added to your total 4 to 8 week timeline.

What if my first try doesn't come out right?
The kit includes enough putty for two impressions, so you have a second attempt if you are making a top-only or bottom-only grill. If your first mold is streaky, crooked, or missing detail, don't send it in, use the remaining putty and try again. Fresh mold beats a bad mold every time. If both attempts don't work out, or you need a top and bottom set, just message us and we'll get another kit out to you.
What happens after you mail it
Once your impression reaches us, our craftsmen start building your grillz from your exact mold, allow 7 to 10 business days of handcrafting once your impression is verified, depending on the complexity of the design, then your finished set ships with tracking. Plan on 4 to 8 weeks total, door to door. The full process is on our How Custom Grillz Work page.

Where your mold ends up
Custom Double Cap Moissanite Tip Fang Grillz: Open Face Canine, Incisor Tip
From $249
An open face canine fang with a moissanite tip along the incisor, handmade from the impression you just took. Silver, 10K or 14K gold, kit included when you order the set. Gift box included. Solid gold pieces are hallmarked with their karat.
See options and pricingReady to start?
You can buy the DIY impression kit on its own to try the process, and the kit cost can be credited toward a custom grillz order. Or browse our custom grillz collection and your impression kit comes with it free.
Questions before you start? Call our stores, Killeen (254) 539-4653 or Copperas Cove (254) 547-4653, or text our VIP line (254) 294-7865. We've been walking Central Texas customers through this process since 1991.
Related answers: How grillz impression kits work · How much do custom grillz cost? · How to choose grillz for your first set · FAQ
Ready to take your impression?
Every custom order includes the dental impression kit, a fit guarantee, and a karat hallmark stamped on every solid gold piece. Family owned in Central Texas since 1991, with two Texas stores you can walk into.